Last Updated on June 3, 2026 by Lila Sjöberg
Somewhere around diaper change number 347, I finally accepted that efficiency matters. Those first weeks of hunting for wipes, realizing the cream was across the room, and discovering we were out of diapers mid-change taught me a valuable lesson: a well-organized changing station saves your sanity.
Key Takeaways
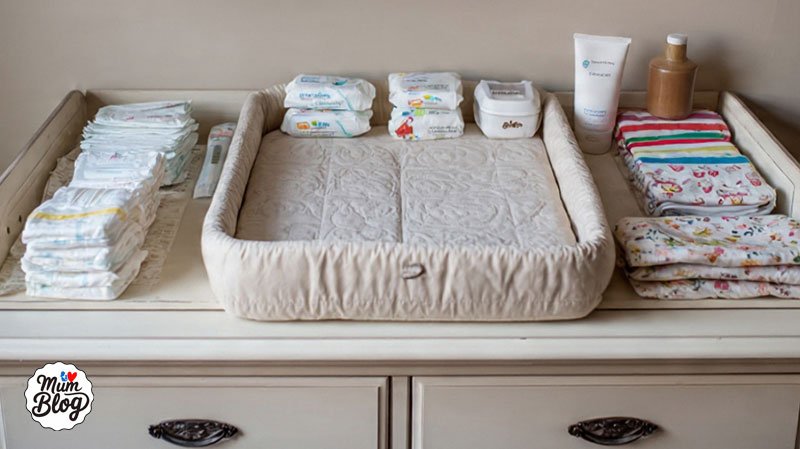
Your changing station should put everything within arm’s reach because you can never leave a baby unattended on an elevated surface. Whether you use a dedicated changing table or a pad on a dresser, organization is what makes diaper changes manageable. Stock it once, maintain it regularly, and those middle-of-the-night changes become almost automatic.
The Short Answer: Set up your changing station with diapers, wipes, cream, and a few spare outfits all within arm’s reach. You’ll change roughly 2,500 diapers in the first year — a few minutes of organization now saves hours of frustration later.
Let me share how to set up a changing station that actually works for the reality of diaper duty.
Choosing Your Changing Location
You have two main approaches: a dedicated changing table or a changing pad on top of a dresser. The dresser option is increasingly popular because you’ll use that furniture long after diaper days end. A good changing pad with a safety strap can sit securely on any flat dresser top.
Whichever you choose, height matters. The surface should hit you around waist level so you’re not hunching over for every change. Back pain from a too-low changing table is a real thing when you’re doing this eight to twelve times a day.

Consider location too. In the nursery makes sense, but many parents set up a second station on the main living floor for daytime changes. A portable changing pad with a small supply caddy means you’re not running upstairs every two hours.
The Non-Negotiable Supplies
Everything you need for a diaper change should be within arm’s reach. And I mean arm’s reach while one hand stays on baby — because the moment you turn away, babies discover they can roll. Don’t know which one and how many? Check them all on Amazon, you don’t have to buy there, but it’s a great source for useful reviews from moms.
Diapers go right next to the changing pad. Keep a stack of at least a dozen there, replenishing when it gets low. Newborns go through eight to twelve diapers daily, so running out mid-change is a real possibility if you’re not staying stocked.
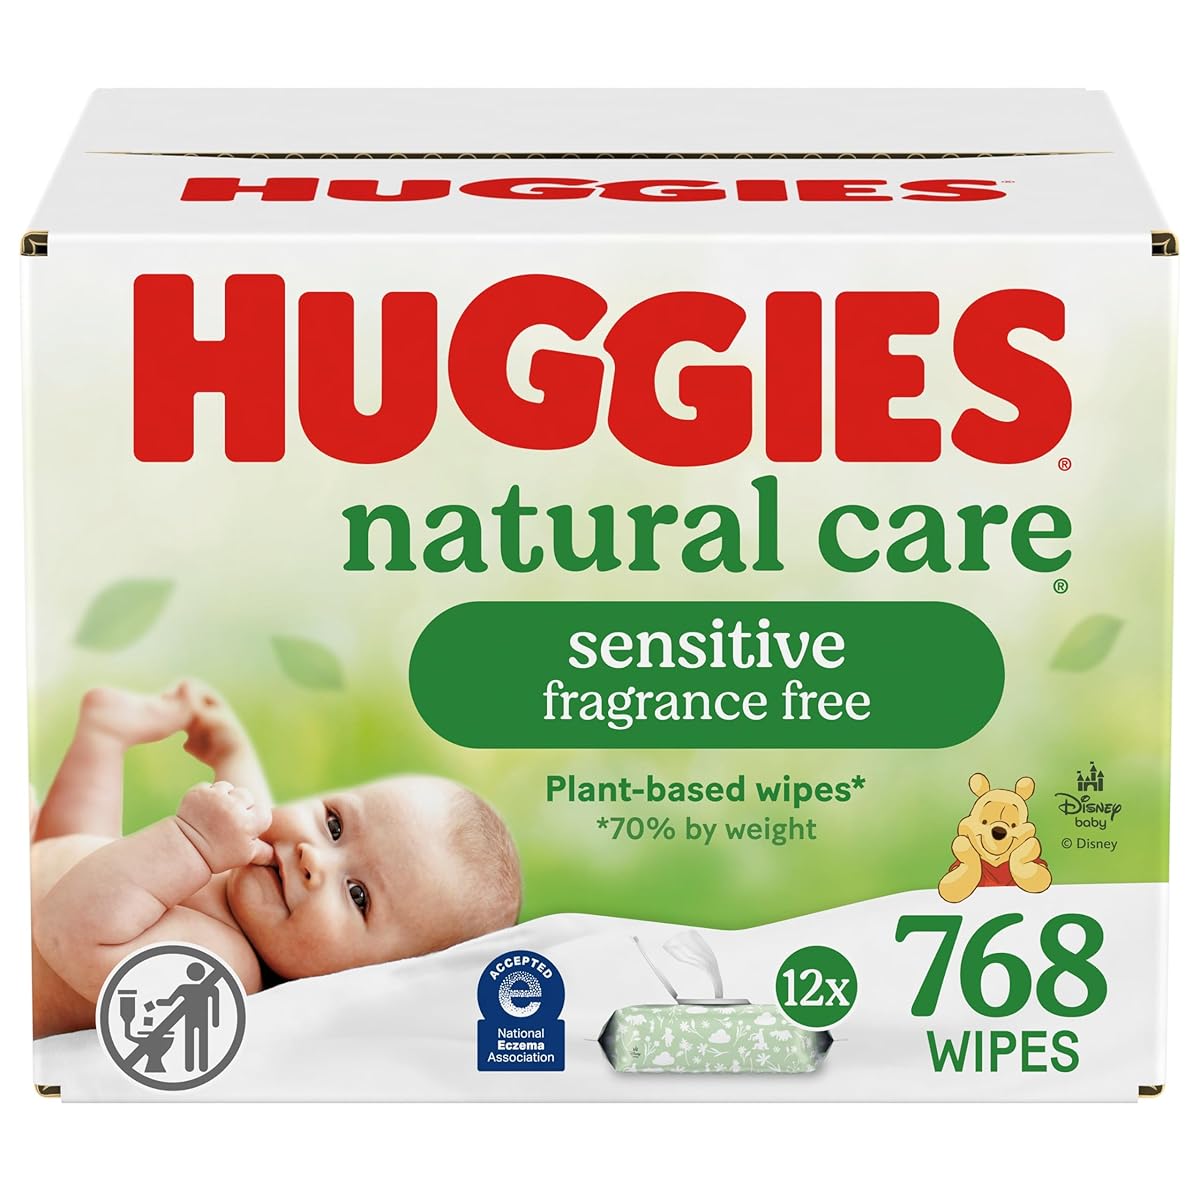
Wipes need to be one-hand accessible. A hard-case dispenser works better than soft packs for grabbing wipes without looking. Unscented wipes are gentlest on newborn skin, but use whatever works for your baby without causing irritation.
Diaper cream stays on the changing station. You won’t need it every change, but when you need it, you need it immediately. Zinc oxide cream works well for most rashes. Keep it uncapped for quick access — you’ll be holding tiny ankles with one hand and reaching for cream with the other.
A small trash can or diaper pail right beside you eliminates the “hold dirty diaper while searching for disposal” problem. Nothing fancy required — a simple step can works perfectly. Specialized diaper pails with odor-locking features are nice but not essential.
The Backup System
Diaper changes go sideways more often than you’d expect. A well-organized station includes backup supplies for the inevitable chaos.
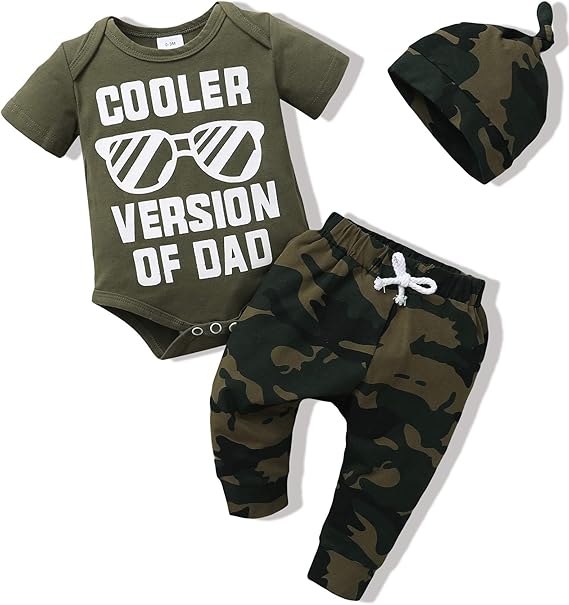
Keep two to three spare onesies right there. Blowouts happen — sometimes spectacularly — and you don’t want to leave a messy baby on the table while you search a dresser drawer. Clean clothes within reach means quick recovery.
A waterproof changing pad cover is essential. Actually, buy two or three so you always have a clean one ready. Some parents layer covers so when one gets soiled, they just peel it off to reveal a clean one underneath.
Have a soft cloth or burp cloth handy. Boys in particular have a tendency to pee the moment cold air hits them. A cloth draped strategically during the change prevents you from getting sprayed. Experienced parents develop this reflex quickly.
Organization That Actually Works
How you organize matters as much as what you stock. Think about the flow of a diaper change: dirty diaper off, clean area, apply cream if needed, clean diaper on, dirty diaper disposed, hands cleaned.
Arrange supplies in that order. Wipes and cream where you’ll reach during cleaning. Clean diapers where you’ll grab next. Trash can at the end of the sequence. This might sound obsessive, but at 3 AM, your half-awake brain will thank you for the autopilot setup. 😄
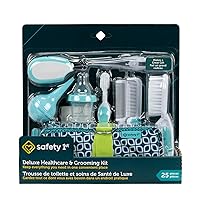
Drawer organizers or small baskets help keep smaller items corralled — extra pacifiers, nail clippers, thermometer. Things you might need occasionally but don’t want to hunt for.
If you’re using a dresser, dedicate the top drawer to changing supplies and current-size clothes. Immediate access beats digging through drawers while baby squirms.
Maintaining Your Station
A changing station only works if it stays stocked. Build restocking into your routine — maybe every evening before bed, check supplies and refill anything running low. The worst time to discover you’re out of wipes is during an explosive diaper at 4 AM.
As baby grows, you’ll need to swap diaper sizes — and eventually baby-proof your home as they become mobile. Don’t let too many of one size pile up — babies grow out of sizes suddenly, and a mountain of too-small diapers is frustrating. Keep one backup pack of the next size ready.
Regularly check cream expiration dates and replace as needed. Wipe cases sometimes need cleaning if residue builds up. A quick wipe-down of the changing pad and surface keeps things hygienic.
For our complete rundown of diapering supplies and what’s actually worth buying, check our newborn essentials checklist.
Frequently Asked Questions
Do I really need a changing table?
Not necessarily. Many parents prefer a changing pad on a dresser, which offers storage and long-term furniture use. Others change diapers on a waterproof pad on the floor or bed. The key is having supplies organized nearby, not the specific furniture piece. Not sure? check them out on Amazon here.
What about a portable changing station?
Highly useful if you have a multi-story home or spend time in different rooms. A simple caddy with diapers, wipes, cream, and a foldable changing pad lets you change baby anywhere without hauling them upstairs constantly. A few samples are shown on Amazon here.
Are diaper pails worth it?
They do reduce odor better than a regular trash can, especially as baby starts solid foods and diapers become more… fragrant. But they also require special bags and regular maintenance. A regular trash can emptied frequently works fine for many families. It’s personal preference and budget, you can check them here.
How do I set up for twins?
Double the supplies, consider a wider changing surface, and keep everything even more accessible. Some twin parents set up side-by-side stations or one station with two of everything. Organization becomes even more critical when you’re outnumbered.
When do kids stop needing a changing station?
Most kids potty train between two and four years old, so you’ll use your changing setup for two to three years. After diapers, the dresser remains useful, and changing pads become gym mats, beach pads, or car seat protectors.
Setting up your changing station takes maybe thirty minutes but pays off for thousands of diaper changes. Future exhausted you — stumbling through changes in the dark — will be grateful for past organized you.
You’ve got this. One diaper at a time, remember around 2500 diapers in the first year! 😅
Lila.

")

